
To build on this recipe, some chefs will brine their turkey prior to cooking. This is an easy way to make the turkey even juicier and ensure it doesn’t dry out during roasting, especially if you’re not confident basting the turkey. Brining simply means submerging the turkey in a flavoured saltwater solution. For the size of the turkey in the recipe above, brining will add around 12 hours preparation time.
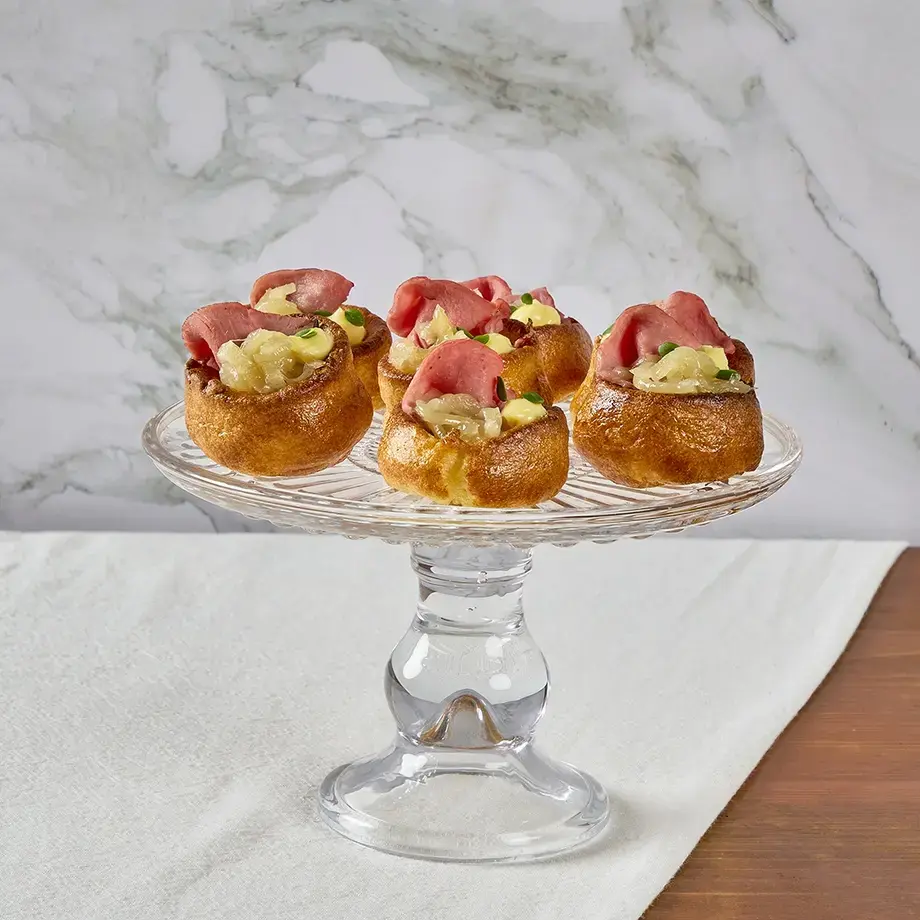
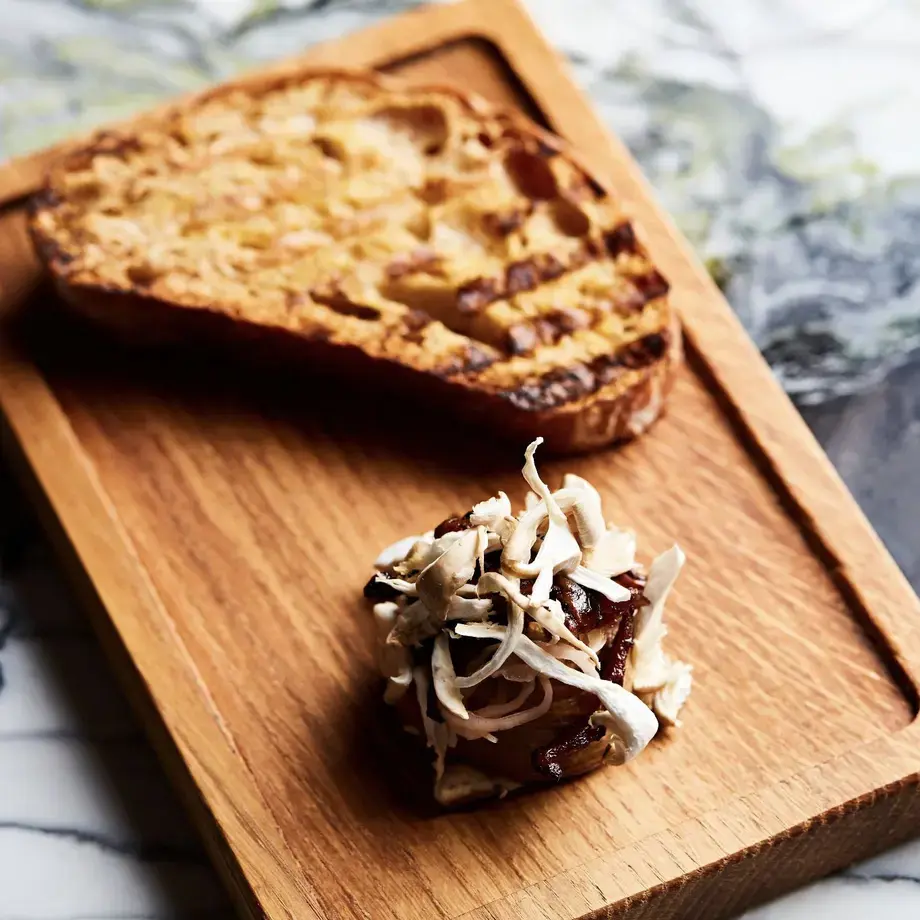
Make sure you don’t discard any of the trimmings from your turkey or Christmas dinner. There are lots of ways to use leftovers to ensure there’s minimal food waste from your festive feast this year.
How to prepare and season the turkey
When purchasing your turkey, it’ll most likely be provided to you frozen. As such, you’ll need to factor in time for thawing before you start cooking. If you choose to thaw the turkey in the fridge, you’ll need to allow 24 hours for every kilogram and a half. A five-kilogram turkey will take around three days to thaw in the fridge.
Or, if you’re pushed for time, you can quickly thaw the turkey in water. Once it’s encased in waterproof wrapping, submerge it in a large sink of water. This method takes around 30 minutes for every 500g of turkey. For a five-kilogram turkey, this will need approximately five hours.
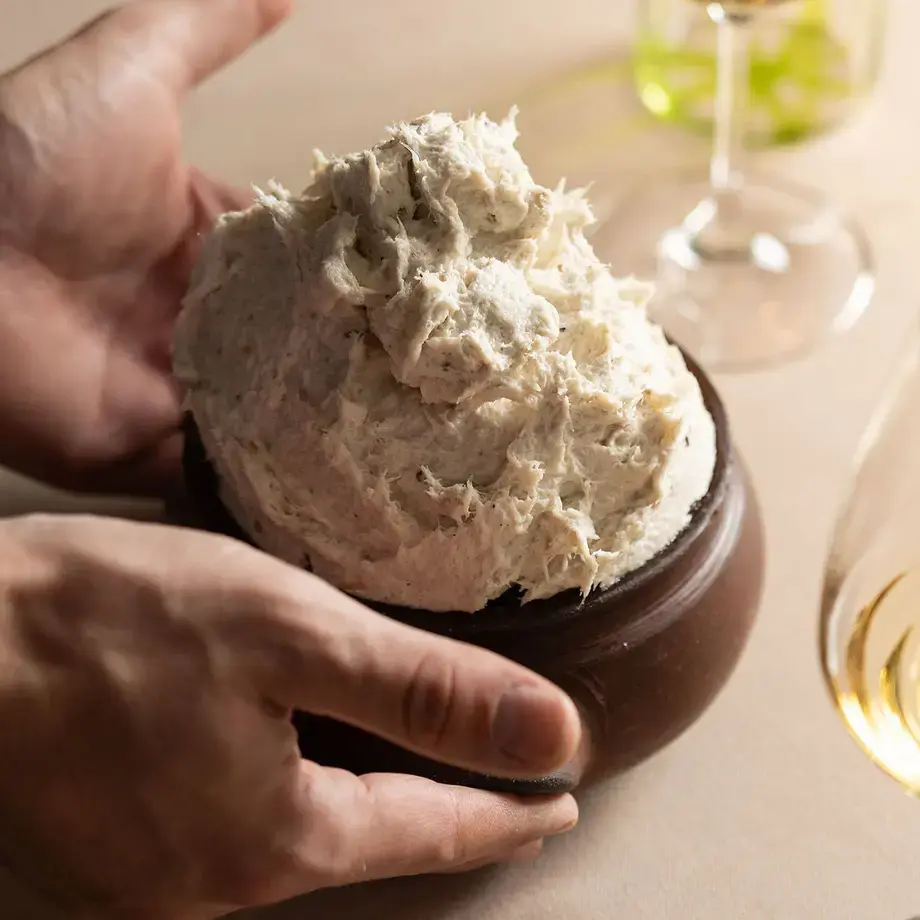
Once the turkey has safely thawed, it needs stuffing with ingredients and seasoning generously to ensure the flavour infuses into the meat. Rubbing the turkey with melted butter also helps the skin to crisp up on the outside.
During the spring months, you may be able to find turkey eggs at your local farmer’s market. Though rare, they are safe to eat and are a tasty way to add a gourmet touch to your next egg-based breakfast recipe.
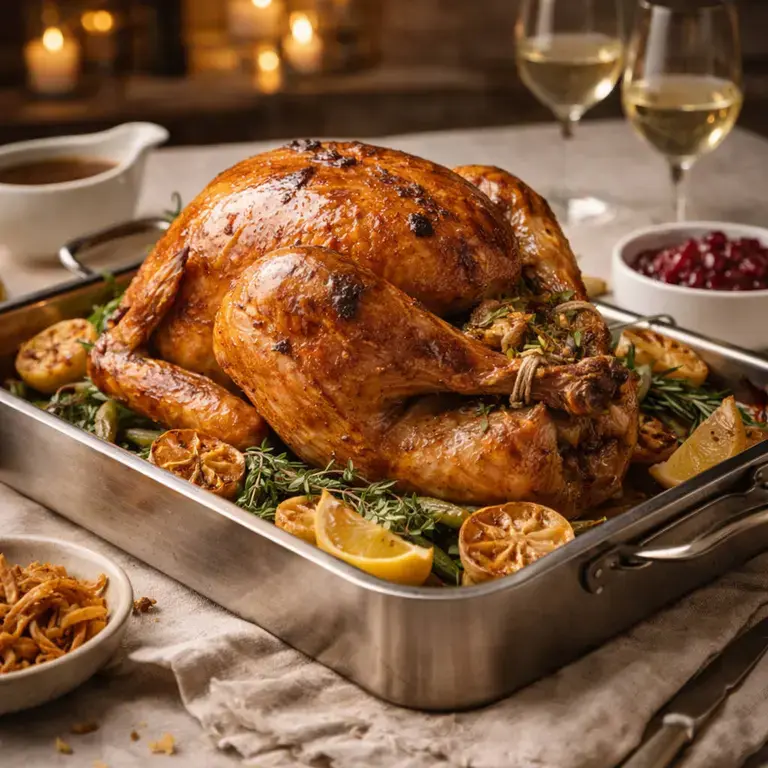
Roasting times, basting and temperature
Roast turkey cooking times will vary depending on the size of the turkey you’re working with. Generally, you will need 15 minutes for every 500g of turkey, but it’s best to check the turkey for doneness before removing it from the oven. You can do this using a meat thermometer as outlined in this recipe, or pierce the meat between the breast and the leg. If the juices run clear, you can be confident the turkey is ready.
For the second half of cooking, once you’ve flipped the turkey, you can baste it. This involves opening the oven and using a ladle to quickly and carefully pour the roasting juices over the turkey. This helps to make the turkey juicy and only needs to happen every 30 minutes. If you’ve brined your turkey, basting shouldn’t be necessary.
Resting, carving and serving with gravy
After roasting turkey, it’s important to let it rest. During the resting time, the meat’s juices rise to the surface. If you carve the turkey straight away, the juices will spill out and be lost to the board. Resting allows the muscle fibres of the turkey to relax and absorb moisture, keeping the meat tender and flavourful.
For carving, there’s an easy process to follow. Firstly, remove the legs and slice through the skin between the leg and the breast. Then remove the wings by pulling away from the body. Run the carving knife down one side of the breastbone and lift the entire breast half off in one piece. Repeat this step on the other side. You can then slice the breast skin-side up into even pieces and carve the thighs. Turkey is best served with a helping of warm gravy on top.